Video Transitions
Add polished, customizable transitions between scenes in Visla to improve flow, highlight moments, and keep viewers engaged with one click.

💡 Why add video transitions to your video projects?
Transitions help your audience follow the story. They signal a change in topic or place, hide small jump cuts, and boost watchability on every platform. With Visla, you drag a transition between clips, set the duration, and match it to your brand style in seconds. No confusing tools, just clean, consistent video storytelling.
The benefits of Video Transitions in Visla
Move between scenes
Use transitions to guide the viewer from one idea to the next. A simple fade or wipe sets context so your message stays clear. You control the pace while the audience stays focused.
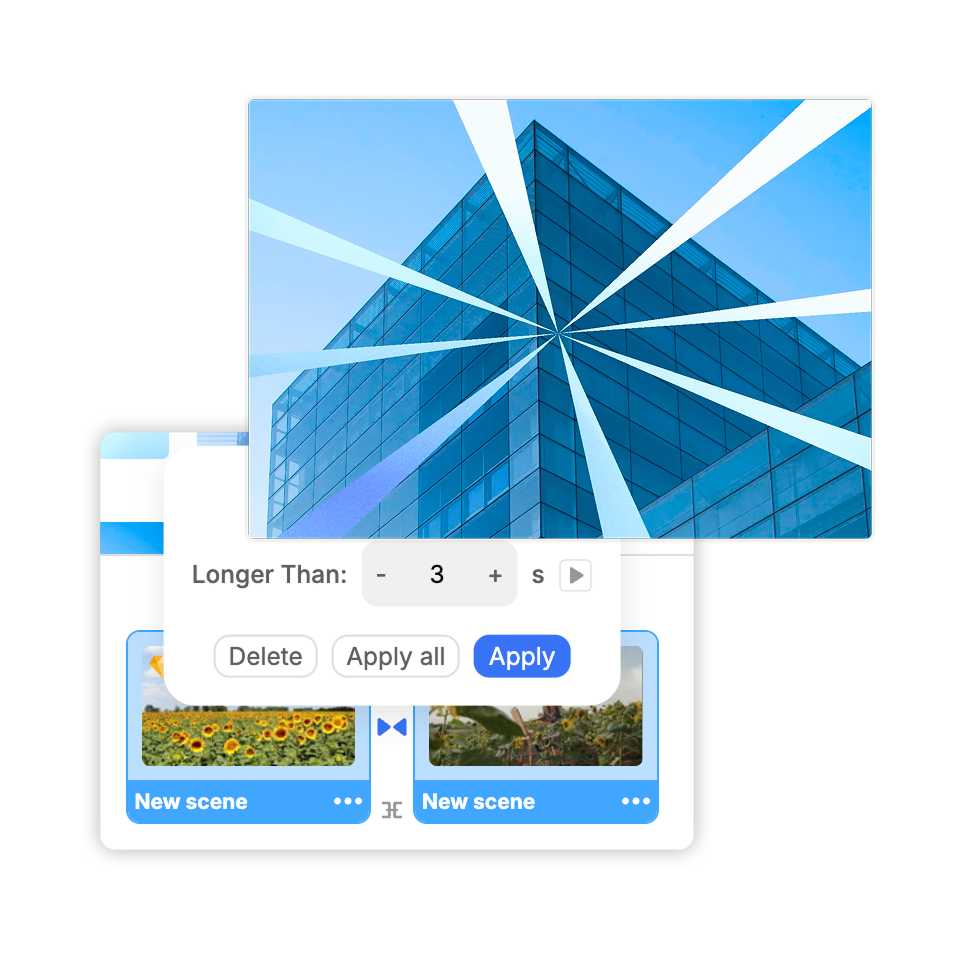
Add visual flair
Introduce a product, chapter, or big reveal with motion that feels intentional. A zoom, ripple, or morph adds energy without stealing the show. Pick styles that match your brand and keep it consistent.
Add variety to your scenes
Break up long sections so viewers never drift. Mix subtle fades with an occasional punchy effect to reset attention. The right variety keeps everything fresh and easy to follow.
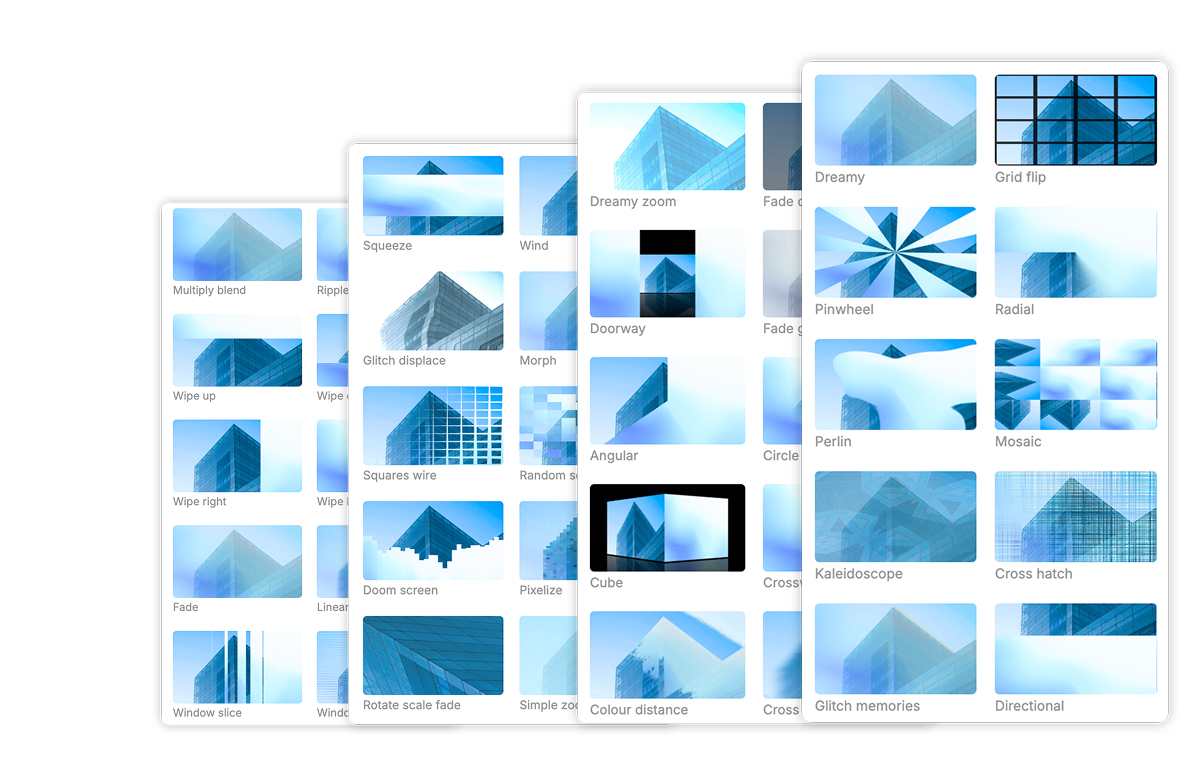
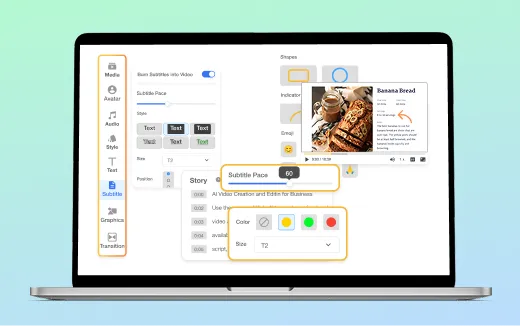
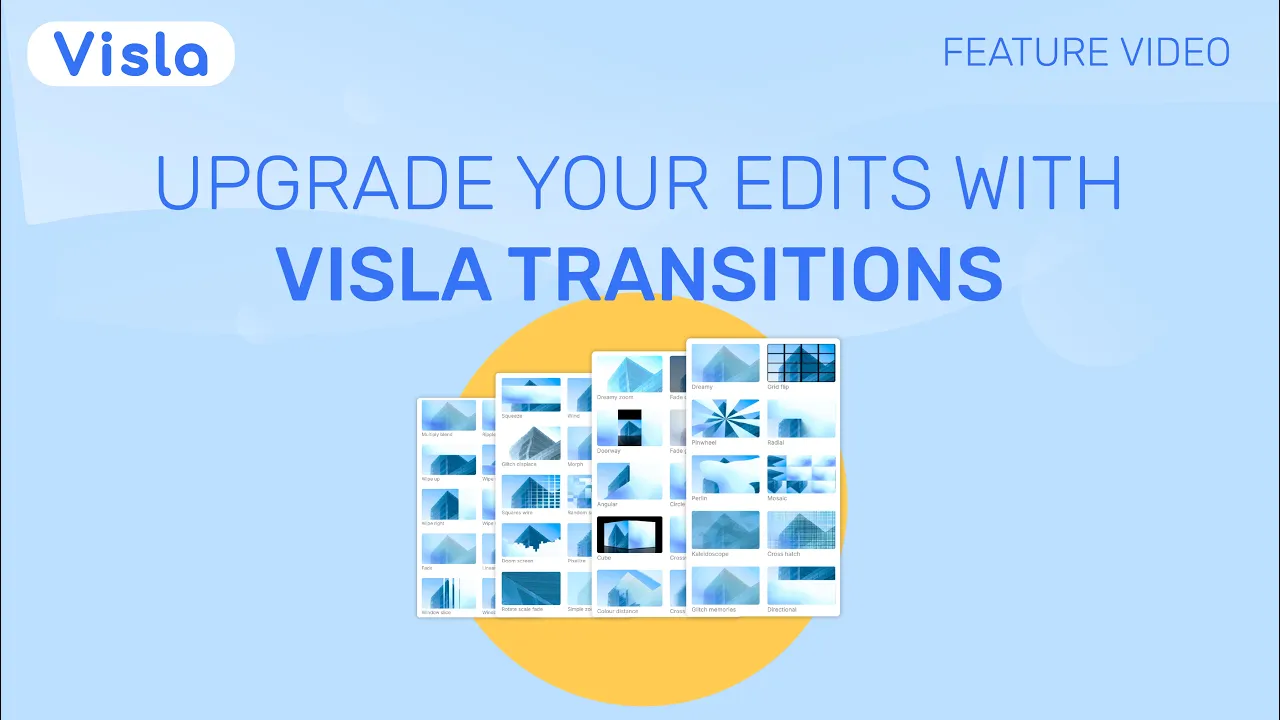
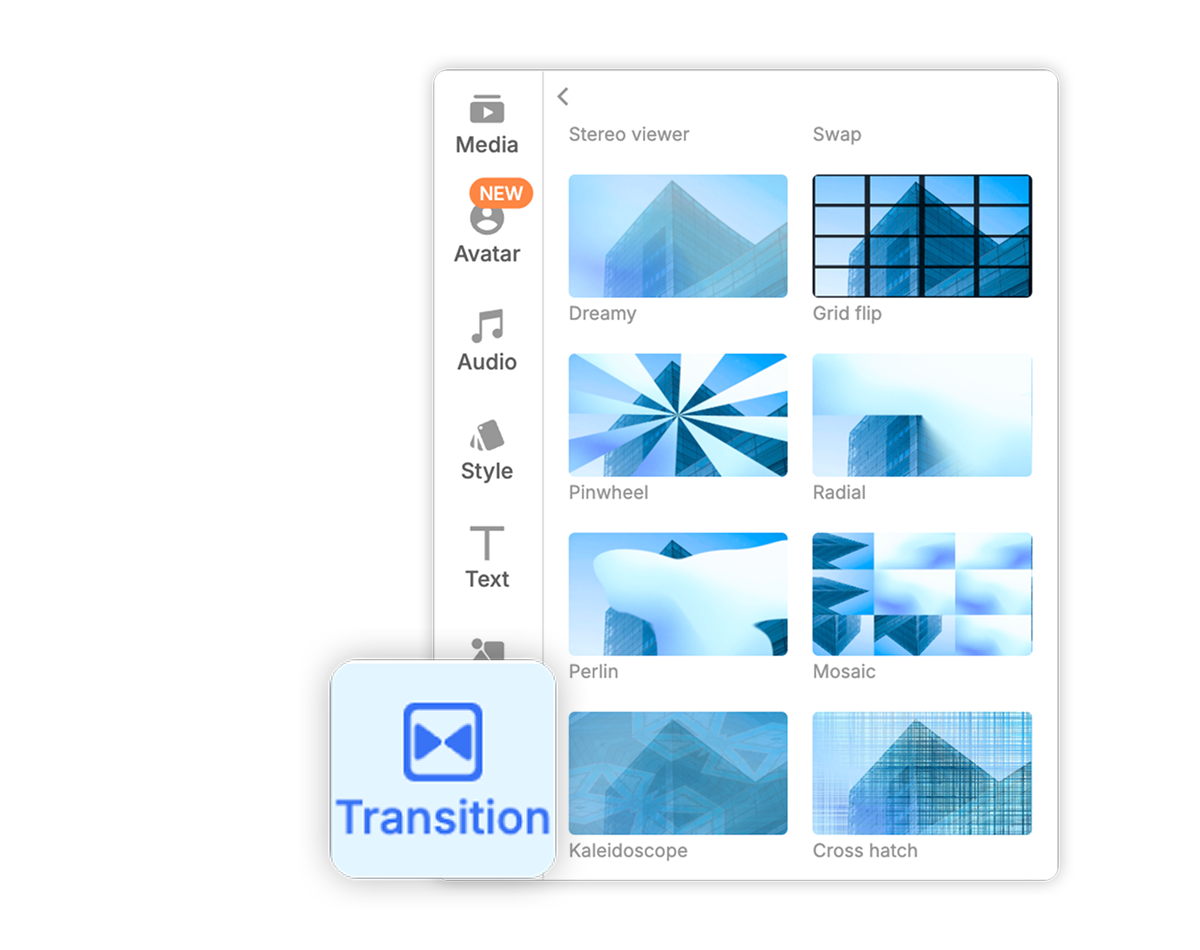
Visla has 50+ transitions
Choose from classic fades, wipes, zooms, glitches, geometric reveals and more to effectively connect scenes together. Visla’s 50+ transitions are organized into clear categories so you can easily find the right transition every single time.
How to add transitions in Visla
1. Generate your video
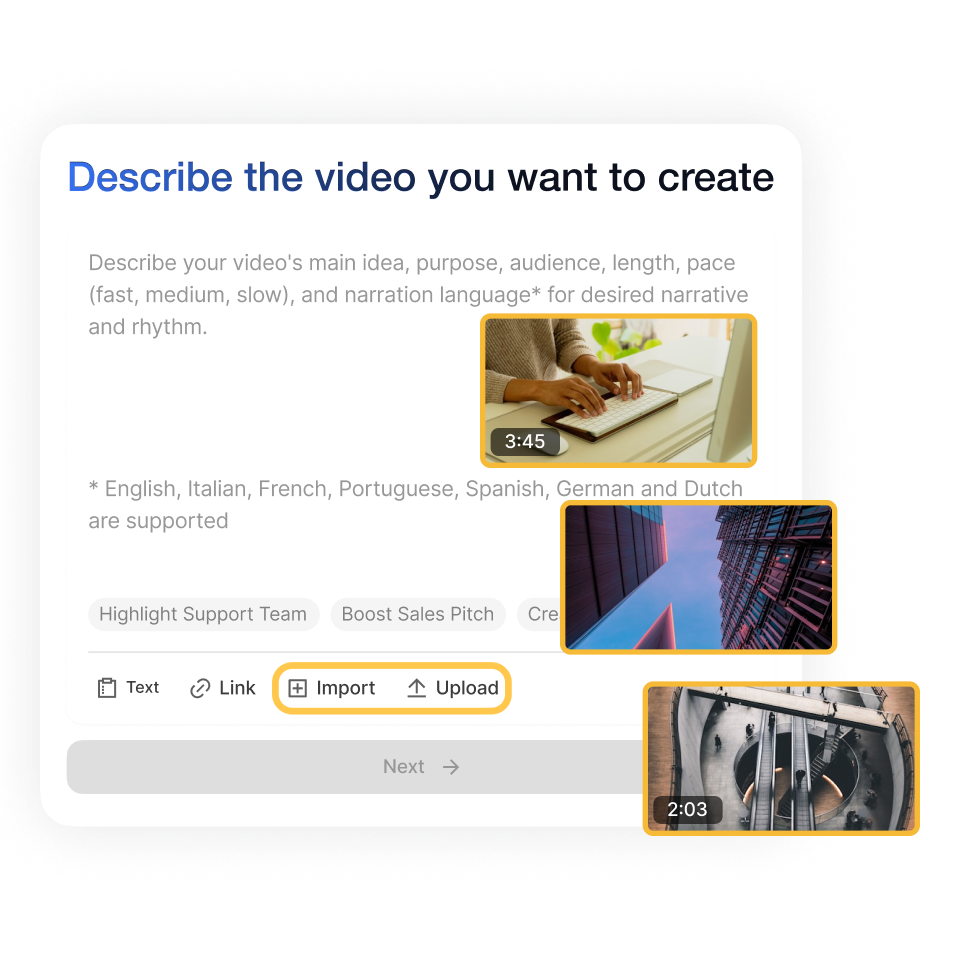
Create a new video with Visla or upload clips to your Workspace. Then open the Scene-Based Video Editor.
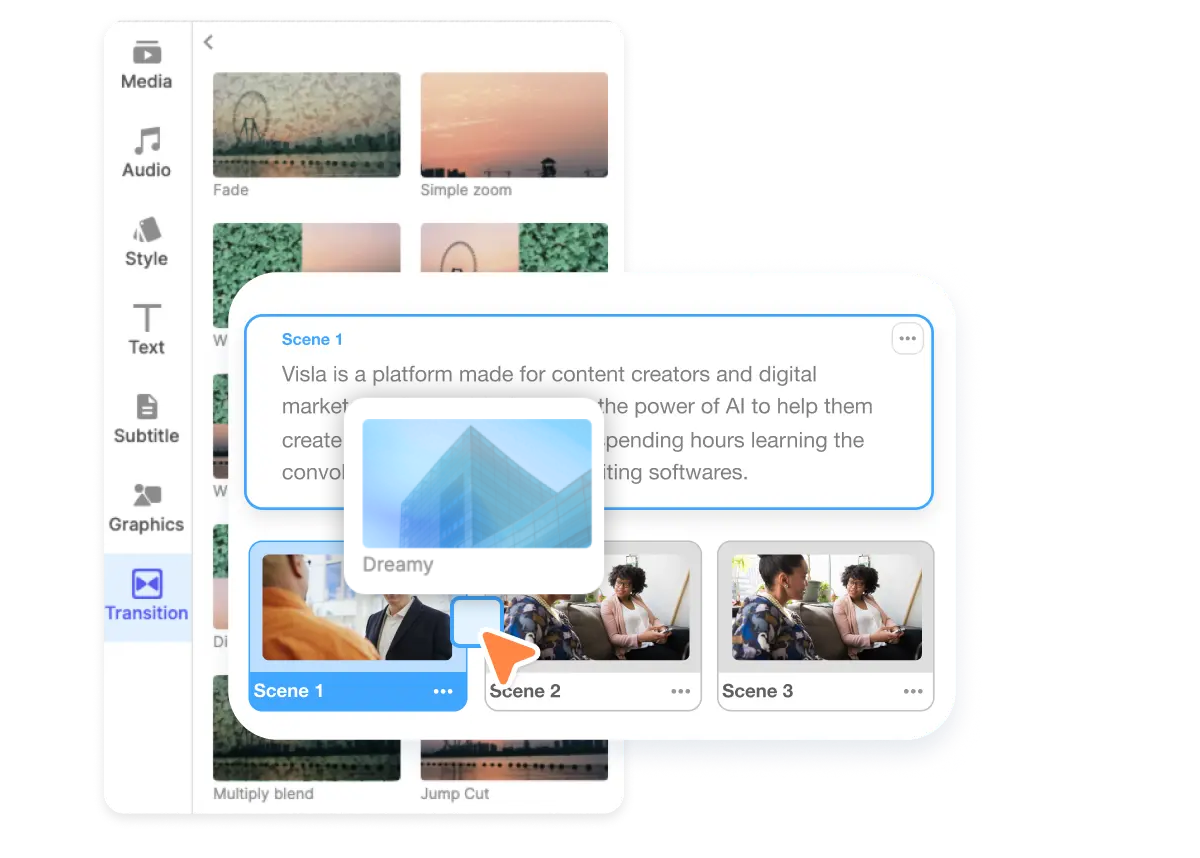
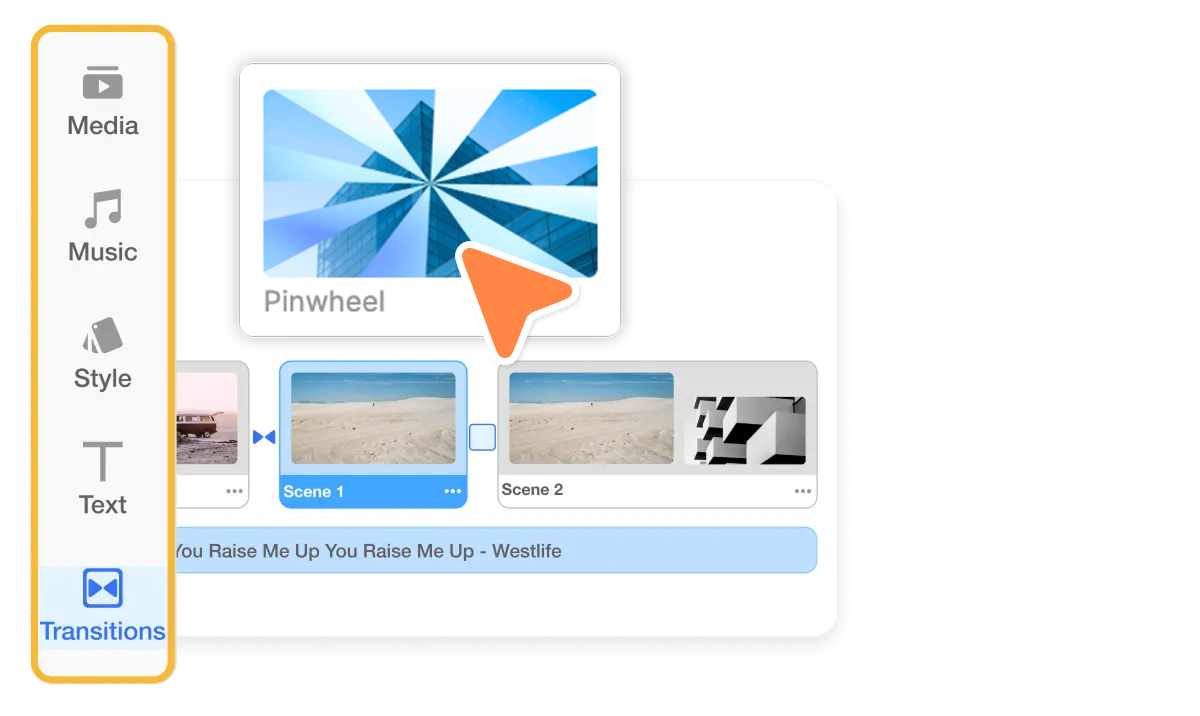
2. Add transitions
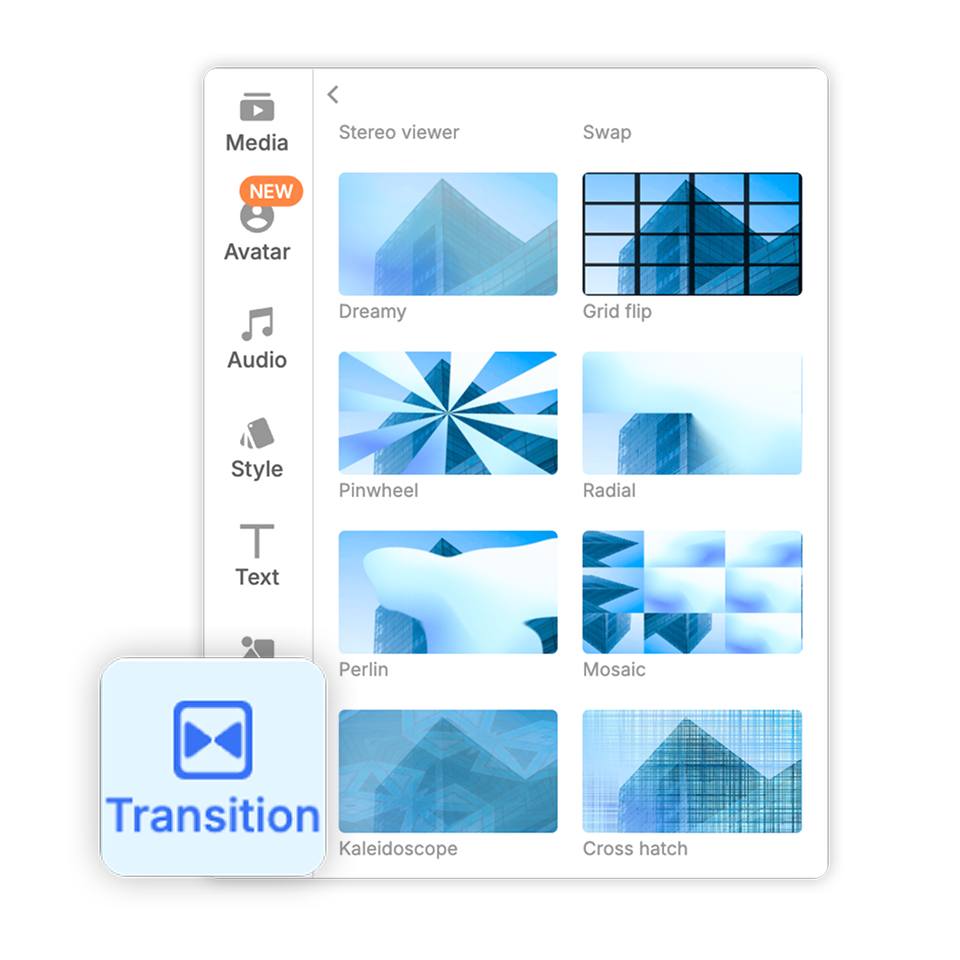
Open Transitions in the left panel. Drag your chosen effect between two clips to apply it instantly.
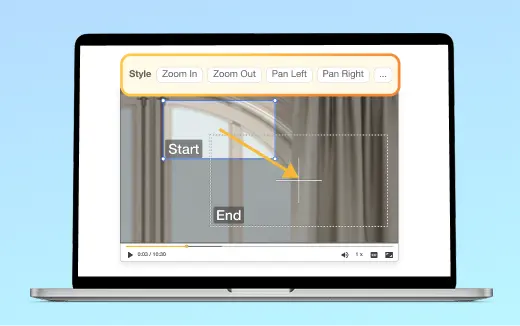
3. Customize your transitions
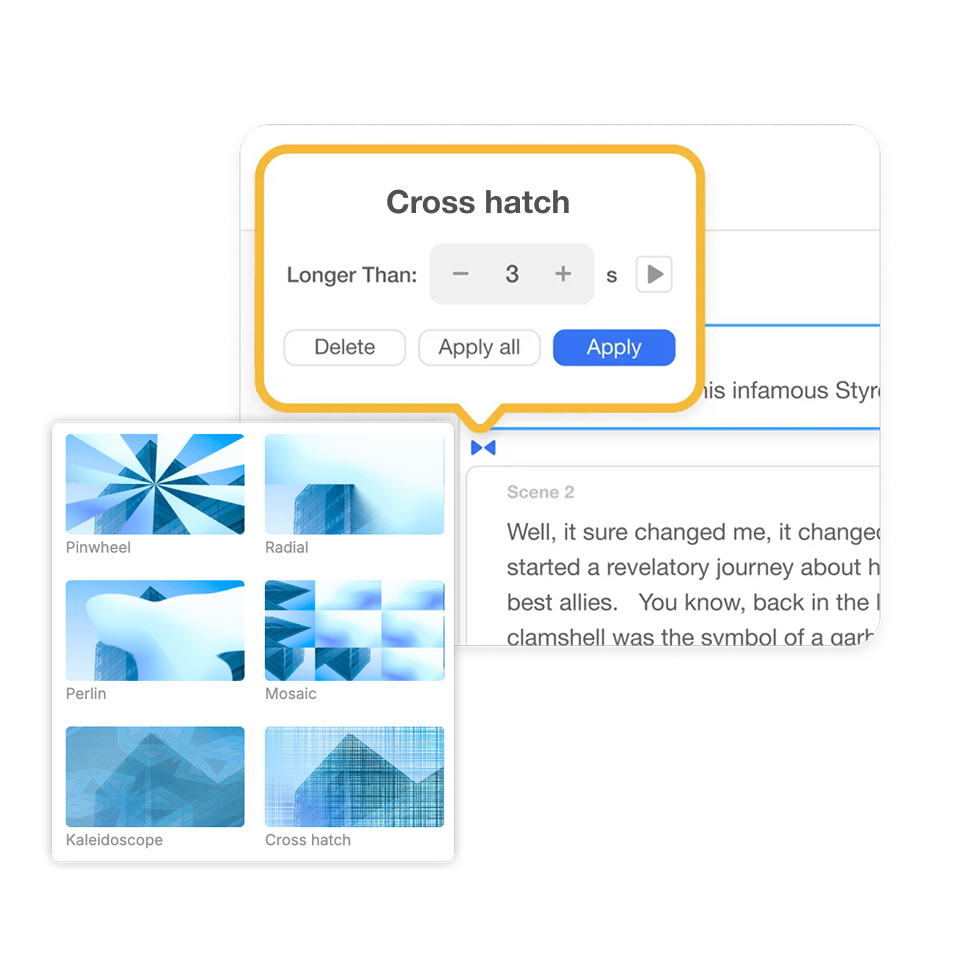
Adjust duration for a quick pop or a slow, cinematic move. Tweak direction or style where available so it fits the moment.
4. That’s it!
Preview the cut, fine-tune if needed, and keep building your story. Fast, simple, polished.
Visla organizes transitions into clear categories so you can find the right one every single time.
 Essentials Fade · Fade color · Fade gray scale · Simple zoom · Crosswarp · Cross zoom · Rotate scale fade · Linear blur
 Wipes & Slides Wipe up · Wipe down · Wipe right · Wipe left · Directional wipe · Directional · Doorway · Window blinds · Window slice · Squeeze · Swap
 Shapes & Reveals Circle open · Circle crop · Cube · Pinwheel · Radial · Angular · Bow tie vertical · Bow tie horizontal · Squares wire · Random squares · Grid flip · Mosaic · Cross hatch · Kaleidoscope
 Zooms, Warps, and Morphs Morph · Colour distance · Colorphase · Perlin · Stereo viewer · Dreamy zoom · Dreamy · Rotate scale fade
 Glitch & Distortion Glitch displace · Glitch memories · Pixelize · Doom screen · Wind · Bounce · Ripple · Directional warp
 Creative Multiply blend · Burn · Colorphase · Colour distance
Frequently Asked Questions
 What transition should I start with?
- How long should a video transition last?
- When do wipes, zooms, or glitch effects make sense?
- How do I keep transitions on-brand across a series?
- Any accessibility tips for motion in videos?
- How are Visla’s video transitions organized?